

Run a short ping test now: on Windows, type ping -n 4 8.8.8.8; on macOS or Linux, type ping -c 4 8.8.8.8. Ping measures round-trip time (RTT), the milliseconds it takes a small data packet to reach a server and come back. Both commands send four packets and stop automatically; add -t (Windows) or drop -c (macOS/Linux) to ping continuously, and press Ctrl+C to stop. If you want jitter and packet loss from multiple locations at once, a browser-based ping test does that without touching a terminal.
- If replies come back under 100 ms with 0% loss, your connection is functioning normally.
- If you see timeouts, high loss, or wildly inconsistent times, run the four-step diagnostic sequence below before assuming your ISP is at fault.
Quick fact: Command-line ping defaults to just 4 packets on Windows, while Microsoft's own documentation confirms macOS and Linux require the -c flag to limit a test that otherwise runs indefinitely.
Key Takeaways
Testing ping correctly means running the right command for your platform, then following a fixed four-step sequence that isolates the fault before you touch anything else.
| Point | Details |
|---|---|
| Use platform-correct syntax | Windows defaults to 4 packets automatically; macOS and Linux need -c to stop pinging on their own. |
| Follow the four-step order | Test loopback, gateway, public IP, then domain to isolate local, LAN, ISP, or DNS faults. |
| Watch jitter, not just averages | A stable 90 ms connection often outperforms a jittery 20 ms one for calls and gaming. |
| Treat packet loss as urgent | Even 1 to 2% loss can noticeably disrupt VoIP calls and competitive gaming sessions. |
| Use multi-location data for confirmation | Internet-analysis aggregates ping, jitter, and packet loss across a global test network to show if an issue is local or upstream. |
Table of Contents
- Command-Line Ping: Exact Commands for Windows, macOS, and Linux
- Are Browser-Based Ping Tools Worth Using?
- The Four-Step Ping Test That Finds the Problem
- How to Read Ping Results: Good vs. Bad Numbers
- What to Do First When Ping Results Look Bad
- What Multi-Location Ping Testing Reveals That a Single Command Can't
- What Actually Matters When You Test Ping
- Get a Fuller Picture Than a Single Ping Command
- Sources
Command-Line Ping: Exact Commands for Windows, macOS, and Linux
The ping utility ships with every major operating system, but the syntax and default behavior differ enough to trip people up. Here's what actually works on each platform.
- Windows.
ping google.comsends 4 packets by default. Add-tfor a continuous stream,-n [count]to set an exact packet number (e.g.,ping -n 10 1.1.1.1), and-l [size]to change packet size in bytes for stress testing (ping -l 1000 8.8.8.8). Force IPv4 with-4when a dual-stack network is causing confusion. - macOS and Linux. These systems ping continuously unless you stop them, so
-c [count]is essential for a clean, finite test:ping -c 4 8.8.8.8. Use-i [seconds]to adjust the interval between packets and-s [bytes]to change packet size. Add-6to force IPv6 when troubleshooting dual-stack issues.
Continuous mode is useful when you're trying to catch intermittent drops that a four-packet snapshot would miss. Let it run for a few minutes while you note the time of any spikes, then stop it and redirect the output to a file (ping -c 100 8.8.8.8 > ping-log.txt on Linux, or ping -n 100 8.8.8.8 > ping-log.txt on Windows) so you have evidence to review or share.
Pro Tip: If you're scripting a diagnostic check on Windows, don't trust %errorlevel% alone to confirm a host responded. It's more reliable to parse the output for the string "TTL=" — that's the actual signal a reply was received, and it avoids false positives from partial packet loss.
For advanced packet-pattern testing, Linux's -p flag lets you send a repeating hex pattern, a technique documented in the Linux ping man page that can expose data-dependent link problems standard pings miss entirely.
Are Browser-Based Ping Tools Worth Using?
Command-line ping tells you about one path between your device and one target. A browser-based tool changes that equation by running the same ICMP request from many server locations simultaneously, some testing from 15 to over 140 global points at once, which shows you whether a latency problem is local to your connection or something happening further upstream.
Web-based ping testers typically report:
- Jitter (the variation between consecutive ping times, not just the average)
- Packet loss as a clean percentage across a batch of requests
- Min, average, and max RTT aggregated across multiple vantage points
Use a browser tool when you want to compare how your connection looks from different regions, or when you'd rather not run a terminal command at all. The catch: if a target server or its firewall blocks ICMP traffic outright, both command-line and web-based tests will report failure even though the server is running fine, so a failed ping never automatically means a dead server.
The Four-Step Ping Test That Finds the Problem
Random ping tests against random targets waste time. A fixed sequence, working outward from your device to the wider internet, tells you exactly where a connection breaks down.
- Ping loopback. Run
ping 127.0.0.1(orping ::1for IPv6). This confirms your device's own network stack is working, independent of any router or cable. - Ping your gateway. Find your router's IP (usually
192.168.1.1or192.168.0.1) and ping it. Success here confirms the local network hop between your device and your router is solid. - Ping a public IP. Try
8.8.8.8(Google) or1.1.1.1(Cloudflare). This tests whether your router can actually reach the wider internet through your ISP, bypassing DNS entirely. - Ping a domain. Try
google.com. This adds DNS resolution on top of steps 1 through 3, a sequence that isolates DNS failures from routing failures far more precisely than a single test ever could.
The pattern matters more than any single result. If step 3 succeeds but step 4 fails, your connection to the internet is fine and DNS is the culprit, not your ISP. If step 2 fails but step 1 succeeds, the problem sits between your device and your router, often a Wi-Fi or cabling issue rather than anything your provider controls.
How to Read Ping Results: Good vs. Bad Numbers
A ping result gives you three numbers: minimum, average, and maximum RTT, plus a packet loss percentage. Jitter, the variation between individual pings rather than the average itself, often matters more than the raw number for real-time applications. A steady 60 ms connection usually feels smoother in a video call than one that swings between 20 ms and 180 ms.
Rough thresholds, with the caveat that context always shapes what counts as acceptable:
- Under 30 ms: excellent, ideal for competitive gaming
- 30 to 70 ms: good for most gaming, calls, and streaming
- 70 to 150 ms: usable but noticeable in fast-paced games or calls
- Over 150 ms: problematic for anything real-time
Even 1 to 2% loss can visibly hurt VoIP calls and online gaming, showing up in your ping output as missing sequence numbers or a "X% packet loss" summary line at the end of the test.
Common error messages tell their own story. "Request timed out" often means a firewall is silently dropping ICMP traffic rather than the server being down. "Destination host unreachable" usually points to a routing problem on your local network. "Unknown host" or "ping request could not find host" almost always means DNS failed to resolve the name, a scenario the SS64 ping reference covers alongside other exit conditions worth recognizing on sight.

What to Do First When Ping Results Look Bad
Before you call your provider, work through a short list of local fixes. Most latency and packet loss complaints trace back to something fixable on your end.
- Switch from Wi-Fi to a wired Ethernet connection to rule out wireless interference.
- Reboot your modem and router, then re-run the four-step sequence.
- Pause large uploads or downloads on any device sharing the network.
- Check whether other devices on the same network show the same symptom.
- Try alternate DNS servers like
8.8.8.8or1.1.1.1if domain pings fail but IP pings succeed. - Temporarily disable a VPN to see if it's adding the latency or loss.
- Run a traceroute to identify exactly which hop along the path is dropping packets.
If loss or high latency persists to public IPs after all of that, and it happens consistently rather than once, you have a real case for your ISP. Save a continuous ping log showing the gateway working fine while the WAN hop fails; that pattern is far more convincing than "my internet feels slow."
Pro Tip: Avoid running automated pings at high frequency around the clock. Some network administrators flag aggressive, continuous pinging as intrusive traffic, so space out repeated diagnostic checks rather than hammering a target every second for hours.
What Multi-Location Ping Testing Reveals That a Single Command Can't
A single ping from your laptop tells you about one path on the internet. Internet-analysis runs aggregated tests from many locations at once, reporting jitter, packet loss, and traceroute data alongside latency so you can see whether a problem follows you everywhere or only shows up from certain regions.
- Compares your results against a base of over 25 million tests run across 180+ countries.
- Aggregates results without personal tracking, so comparisons stay statistically meaningful without collecting identifying data.
- Pairs ping with DNS checks and traceroute analysis in one pass.
Here's a case where that matters: if your gateway ping is clean but a multi-location test shows high latency to servers in one specific region only, the problem usually sits with your ISP's peering agreements in that region, not your home network. A single local ping would never have shown you that.
What Actually Matters When You Test Ping
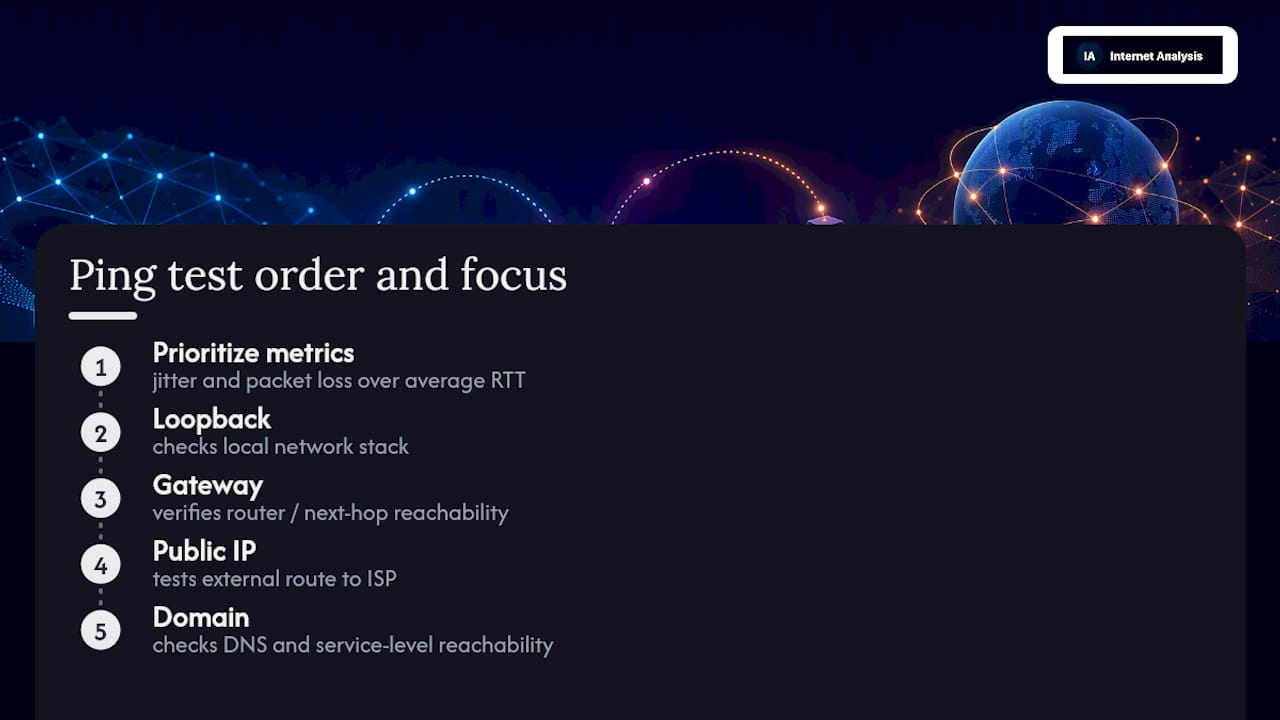
Most guides treat ping like a single number you either pass or fail. That's the wrong frame. A "bad" 90 ms ping to a server on the other side of the planet is normal physics, not a fault. A "good" 20 ms average that jitters between 5 ms and 200 ms is a worse experience for a video call than that steady 90 ms ever would be. If you take one thing from this guide, take that: jitter and packet loss deserve more of your attention than the raw average RTT, especially for gaming and calls.
The other place conventional advice falls short is sequencing. People ping a random server, panic at a bad number, and call support. Running the four-step order first, loopback, gateway, public IP, domain, takes under a minute and tells you whether the fault is even worth escalating. Command-line ping and browser-based tools aren't competitors here. One gives you a fast, single-path answer; the other shows you whether that answer holds up from other vantage points. Use both, in that order, and you'll spend less time guessing and more time fixing the actual problem.
— Tomasz
Get a Fuller Picture Than a Single Ping Command
A terminal ping gives you one number from one location. If you want to know whether a latency problem follows you across regions or stays local to your ISP, that requires aggregated data command-line tools simply can't produce on their own.
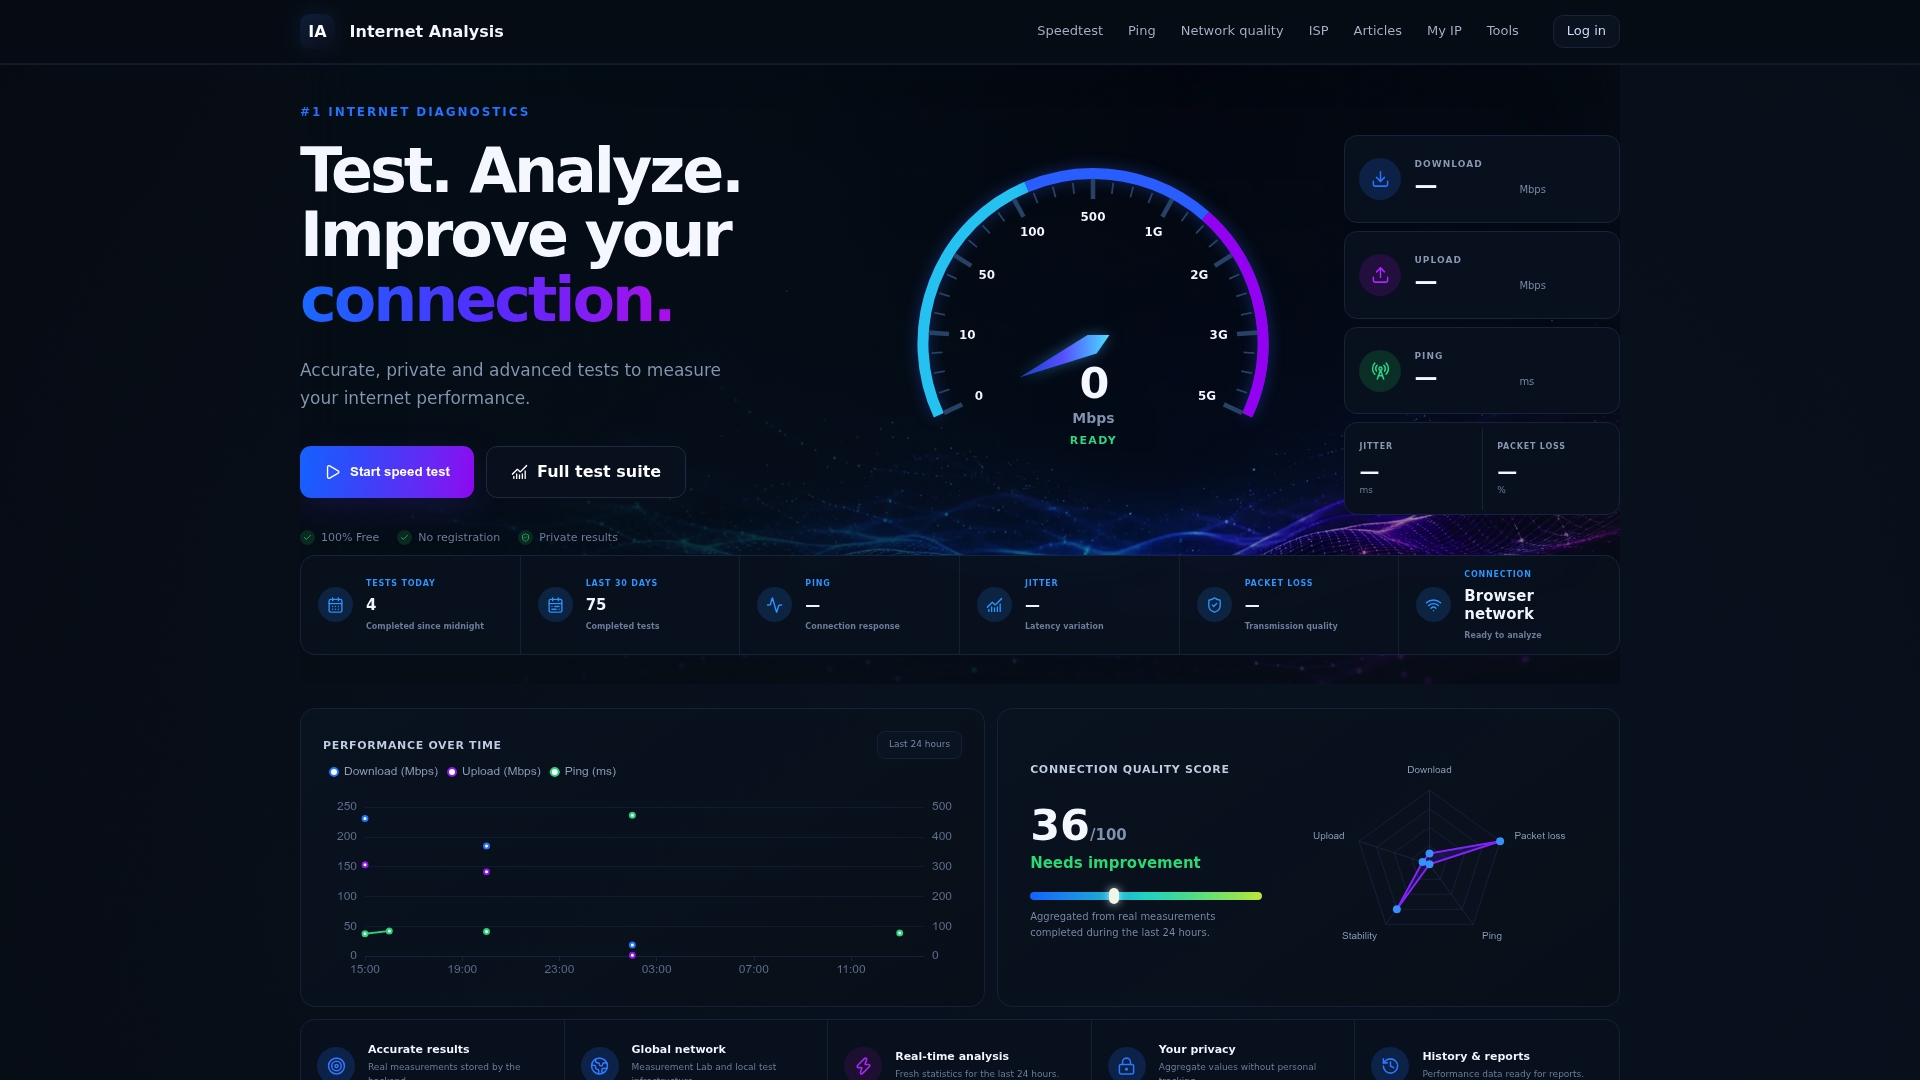
Internet-analysis runs ping alongside jitter, packet loss, and traceroute checks from a global test network, and aggregates results from over 25 million tests without collecting personal tracking data. That combination lets you see in one pass whether your connection issue is a local router problem or something upstream with your provider, instead of running four separate tools to piece it together. If gaming or calls are the real concern, the cloud gaming latency guide breaks down the specific thresholds that matter for that use case. Run the full network quality test now and get ping, jitter, and packet loss results in one report.